From Scratch to Cluster: Kubernetes on Mac M1 with UTM
Kubeadm, containerd, and Calico — one painful bite at a time.

Working as a solutions architect while going deep on Kubernetes security — prevention-first thinking, open source tooling, and a daily rabbit hole of hands-on learning. I make the mistakes, then figure out how to fix them (eventually).
Because sometimes you just need to suffer a bit to understand how things actually work. This guide is the result of trial, error, Medium posts, and scripting help from ChatGPT. After enough practice, I can now stand up this cluster in just a few minutes (Ubuntu boot speed willing). Once it's up, you'll inevitably hit some bumps — especially with Calico. You’ll probably end up nuking the calico-node pods more times than you'd like. Enough said.
Why This Lab Exists
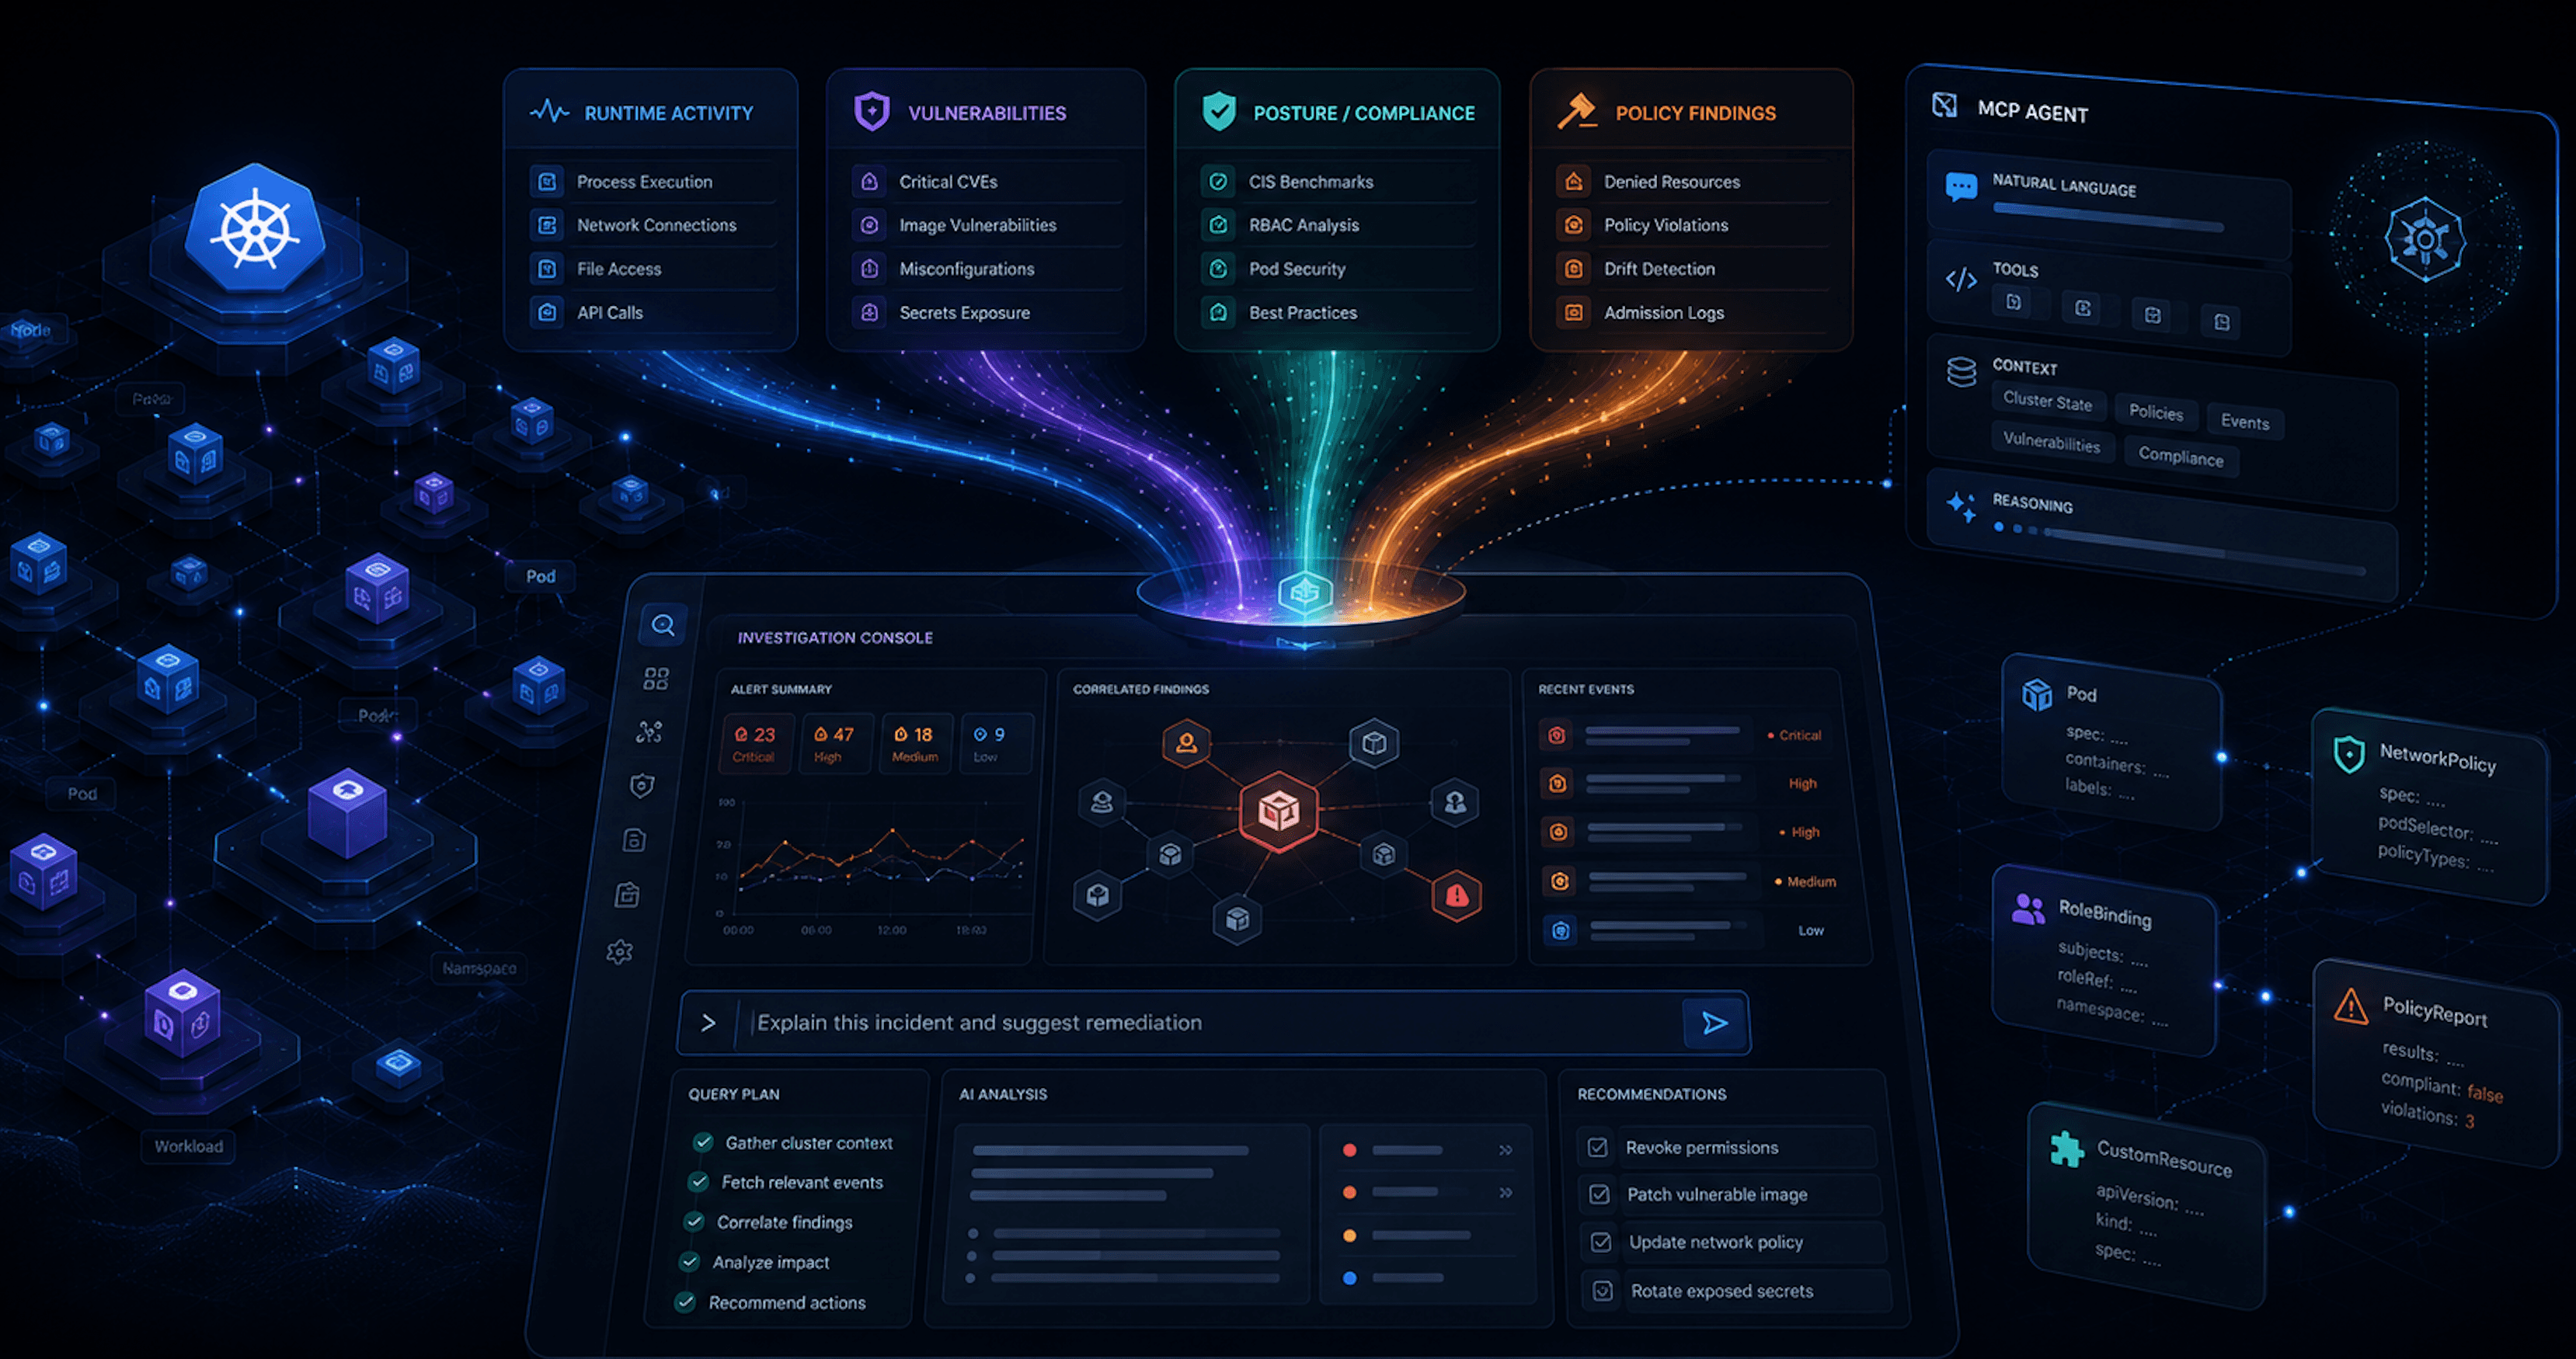
This lab is great because it lets you test everything locally — agents, detection scenarios, runtime behavior — without spinning up an EKS cluster or settling for a half-baked lightweight alternative. It gives you a fully functional Kubernetes cluster built from scratch using Ubuntu 24.04 on Apple Silicon with UTM.
You can simply copy this process with another VM to create a Worker Node and join to it via the Kubeadm instructions you'll see on this Controlplane node.
It’s intentionally minimal, manual, and gives good insight into:
How the control plane and networking actually initialize
What can go wrong (and it will)
How containerd, kubelet, and Calico actually talk to each other
How to debug when a pod just... won't work
If I try these instructions again in a week it inevitably won't work.
If you're used to
minikubeorkind, this is way more fun...
Phase 1: Create and Install Ubuntu in UTM
Download UTM
Download Ubuntu 24.04 ARM64 ISO: https://ubuntu.com/download/server/arm
Create two VMs:
Name:
ControlplaneandKubeworker14 cores, 4+ GB RAM, 26+ GB disk, VirtIO NIC
Boot from ISO and install Ubuntu (minimal)
During install: enable OpenSSH Server
Important: After installing Ubuntu, eject the ISO from the VM before rebooting.
In UTM: select the VM → CD/DVD → click “Clear”
Phase 2: Ubuntu Package Setup
Just the necessities
sudo apt update
sudo apt -y full-upgrade
sudo apt install -y curl wget git vim htop tmux net-tools apt-transport-https ca-certificates gnupg lsb-release conntrack
Phase 3: Swap, Kernel Modules, and Sysctl
This might not be technically necessary (ensures memory stability), but I couldn't get it to work with swap on. This will disable it after restart as well.
sudo swapoff -a
sudo sed -i '/ swap / s/^/#/' /etc/fstab
Add relevant kernel modules. This will add and load the modules, which are required for Kubernetes. overlay is required for containerd's overlay filesystem and br_netfilter enables networking between pods via iptables.
cat <<EOF | sudo tee /etc/modules-load.d/k8s.conf
overlay
br_netfilter
EOF

sudo modprobe overlay
sudo modprobe br_netfilter
Add relevant network parameters. This ensures network policies and routing work properly
cat <<EOF | sudo tee /etc/sysctl.d/k8s.conf
net.bridge.bridge-nf-call-iptables  = 1
net.bridge.bridge-nf-call-ip6tables = 1
net.ipv4.ip_forward                 = 1
EOF

sudo sysctl --system
Phase 4: Network & Hostname Setup
Set persistent hostname
sudo hostnamectl set-hostname Controlplane
Edit hosts file.
sudo vi /etc/hosts
Match the following
127.0.0.1 localhost
127.0.1.1 Controlplane

# The following lines are desirable for IPv6 capable hosts
::1     ip6-localhost ip6-loopback
192.168.64.10 Controlplane # Or your IP if different
fe00::0 ip6-localnet
ff00::0 ip6-mcastprefix
ff02::1 ip6-allnodes
ff02::2 ip6-allrouters
Use netplan to set up proper static IPs (Please do this part, otherwise there will be at least intermittent hell to pay)
sudo vi /etc/netplan/00-installer-config.yaml
Expected Ouput
network:
  version: 2
  ethernets:
    enp0s1:                        # Change to your actual interface
      dhcp4: no
      addresses:
        - 192.168.64.11/24        # Or your IP if different
      gateway4: 192.168.64.1      # Or your IP if different
      nameservers:
        addresses:
          - 8.8.8.8
          - 1.1.1.1
Apply this configuration
sudo netplan apply
Phase 5: Install and Configure containerd
sudo apt install -y containerd
Set up the default config:
sudo mkdir -p /etc/containerd
sudo containerd config default | sudo tee /etc/containerd/config.toml
Ensure SystemdCgroup is true:
sudo sed -i 's/SystemdCgroup = false/SystemdCgroup = true/' /etc/containerd/config.toml
Restart and enable:
sudo systemctl restart containerd
sudo systemctl enable containerd
Phase 6: Install Kubernetes Components
Add in all the required Kube sources using 1.31:
curl -fsSL https://pkgs.k8s.io/core:/stable:/v1.31/deb/Release.key | \
  sudo gpg --dearmor -o /etc/apt/keyrings/kubernetes-apt-keyring.gpg

echo 'deb [signed-by=/etc/apt/keyrings/kubernetes-apt-keyring.gpg] https://pkgs.k8s.io/core:/stable:/v1.31/deb/ /' | \
  sudo tee /etc/apt/sources.list.d/kubernetes.list

sudo apt update
Install the Kube stuff:
sudo apt install -y kubelet kubeadm kubectl
sudo apt-mark hold kubelet kubeadm kubectl
Phase 7: kubeadm init with Pod CIDR
Initialize K8s
sudo kubeadm init --pod-network-cidr=10.241.0.0/16 --cri-socket unix:///var/run/containerd/containerd.sock --v=5
Copy kubeconfig to user, which should show once the initialization finishes:
mkdir -p $HOME/.kube
sudo cp /etc/kubernetes/admin.conf $HOME/.kube/config
sudo chown $(id -u):$(id -g) $HOME/.kube/config
Phase 8: Install Calico (Operator Style)
Download Tigera operator and custom-resources.yaml, edit to match pod CIDR 10.241.0.0/16, then apply both:
kubectl create -f https://docs.projectcalico.org/manifests/tigera-operator.yaml
wget https://docs.projectcalico.org/manifests/custom-resources.yaml
Edit:
cidr: 10.241.0.0/16
Apply:
kubectl create -f custom-resources.yaml
Phase 9: Remove Taint
kubectl taint nodes --all node-role.kubernetes.io/control-plane-
Phase 10: Test Deployment (nginx + NodePort)
Apply the following:
apiVersion: apps/v1
kind: Deployment
metadata:
  name: nginx
  namespace: default
spec:
  replicas: 1
  selector:
    matchLabels:
      app: nginx
  template:
    metadata:
      labels:
        app: nginx
    spec:
      containers:
      - name: nginx
        image: nginx:stable
        ports:
        - containerPort: 80
---
apiVersion: v1
kind: Service
metadata:
  name: nginx-nodeport
spec:
  type: NodePort
  selector:
    app: nginx
  ports:
    - protocol: TCP
      port: 80
      targetPort: 80
      nodePort: 30080
Test visiting Nginx via http://192.168.64.10:30080 (or your IP)
Breath...
Common Issues & Fixes
There are a host of problems you might hit when running this lab — especially with swap, static IPs and Calico. Just add a comment if you run into issues!