Lima: Linux on macOS Without the Ceremony
Getting to real Linux, containers, and Kubernetes without a heavy lab setup
Working as a solutions architect while going deep on Kubernetes security — prevention-first thinking, open source tooling, and a daily rabbit hole of hands-on learning. I make the mistakes, then figure out how to fix them (eventually).
Introduction
Start with Linux. On macOS, if you want to do real container or Kubernetes work, the first decision isn’t Kubernetes at all, but rather how you’re going to run Linux. So far, my default approach has been a full Linux VM via UTM, with the OS depending on the goal: Ubuntu for familiarity, Talos for opinionated immutability, or something else when I want to experiment.
Kubernetes is a separate decision that comes after that. Once you have Linux, you choose how you want Kubernetes to show up:
kubeadm when you want to understand how clusters are actually built
Talos when you want a tightly controlled, production-shaped system
Minikube when you want something running quickly and don’t care much about what it’s doing under the hood
Linux VM first, Kubernetes second is honest, flexible, and how real clusters cam come into existence. It’s also a lot of setup if all you want is a disposable sandbox.
This is where Lima changes the flow. Lima collapses those steps. It gives you an easy, disposable Linux VM. And if you want a lightweight Kubernetes setup it is a great choice. Under the hood, it’s still VMs and still real Linux, but it’s optimized for iteration, not realism. That makes it an excellent starting point if you’re new, and a useful shortcut even if you’re already comfortable with kubeadm or Talos.
It’s not a replacement for a “real” cluster, but it is a faster way to get up and running.
If you take away one thing from this, it's stop running Minikube on your Mac.
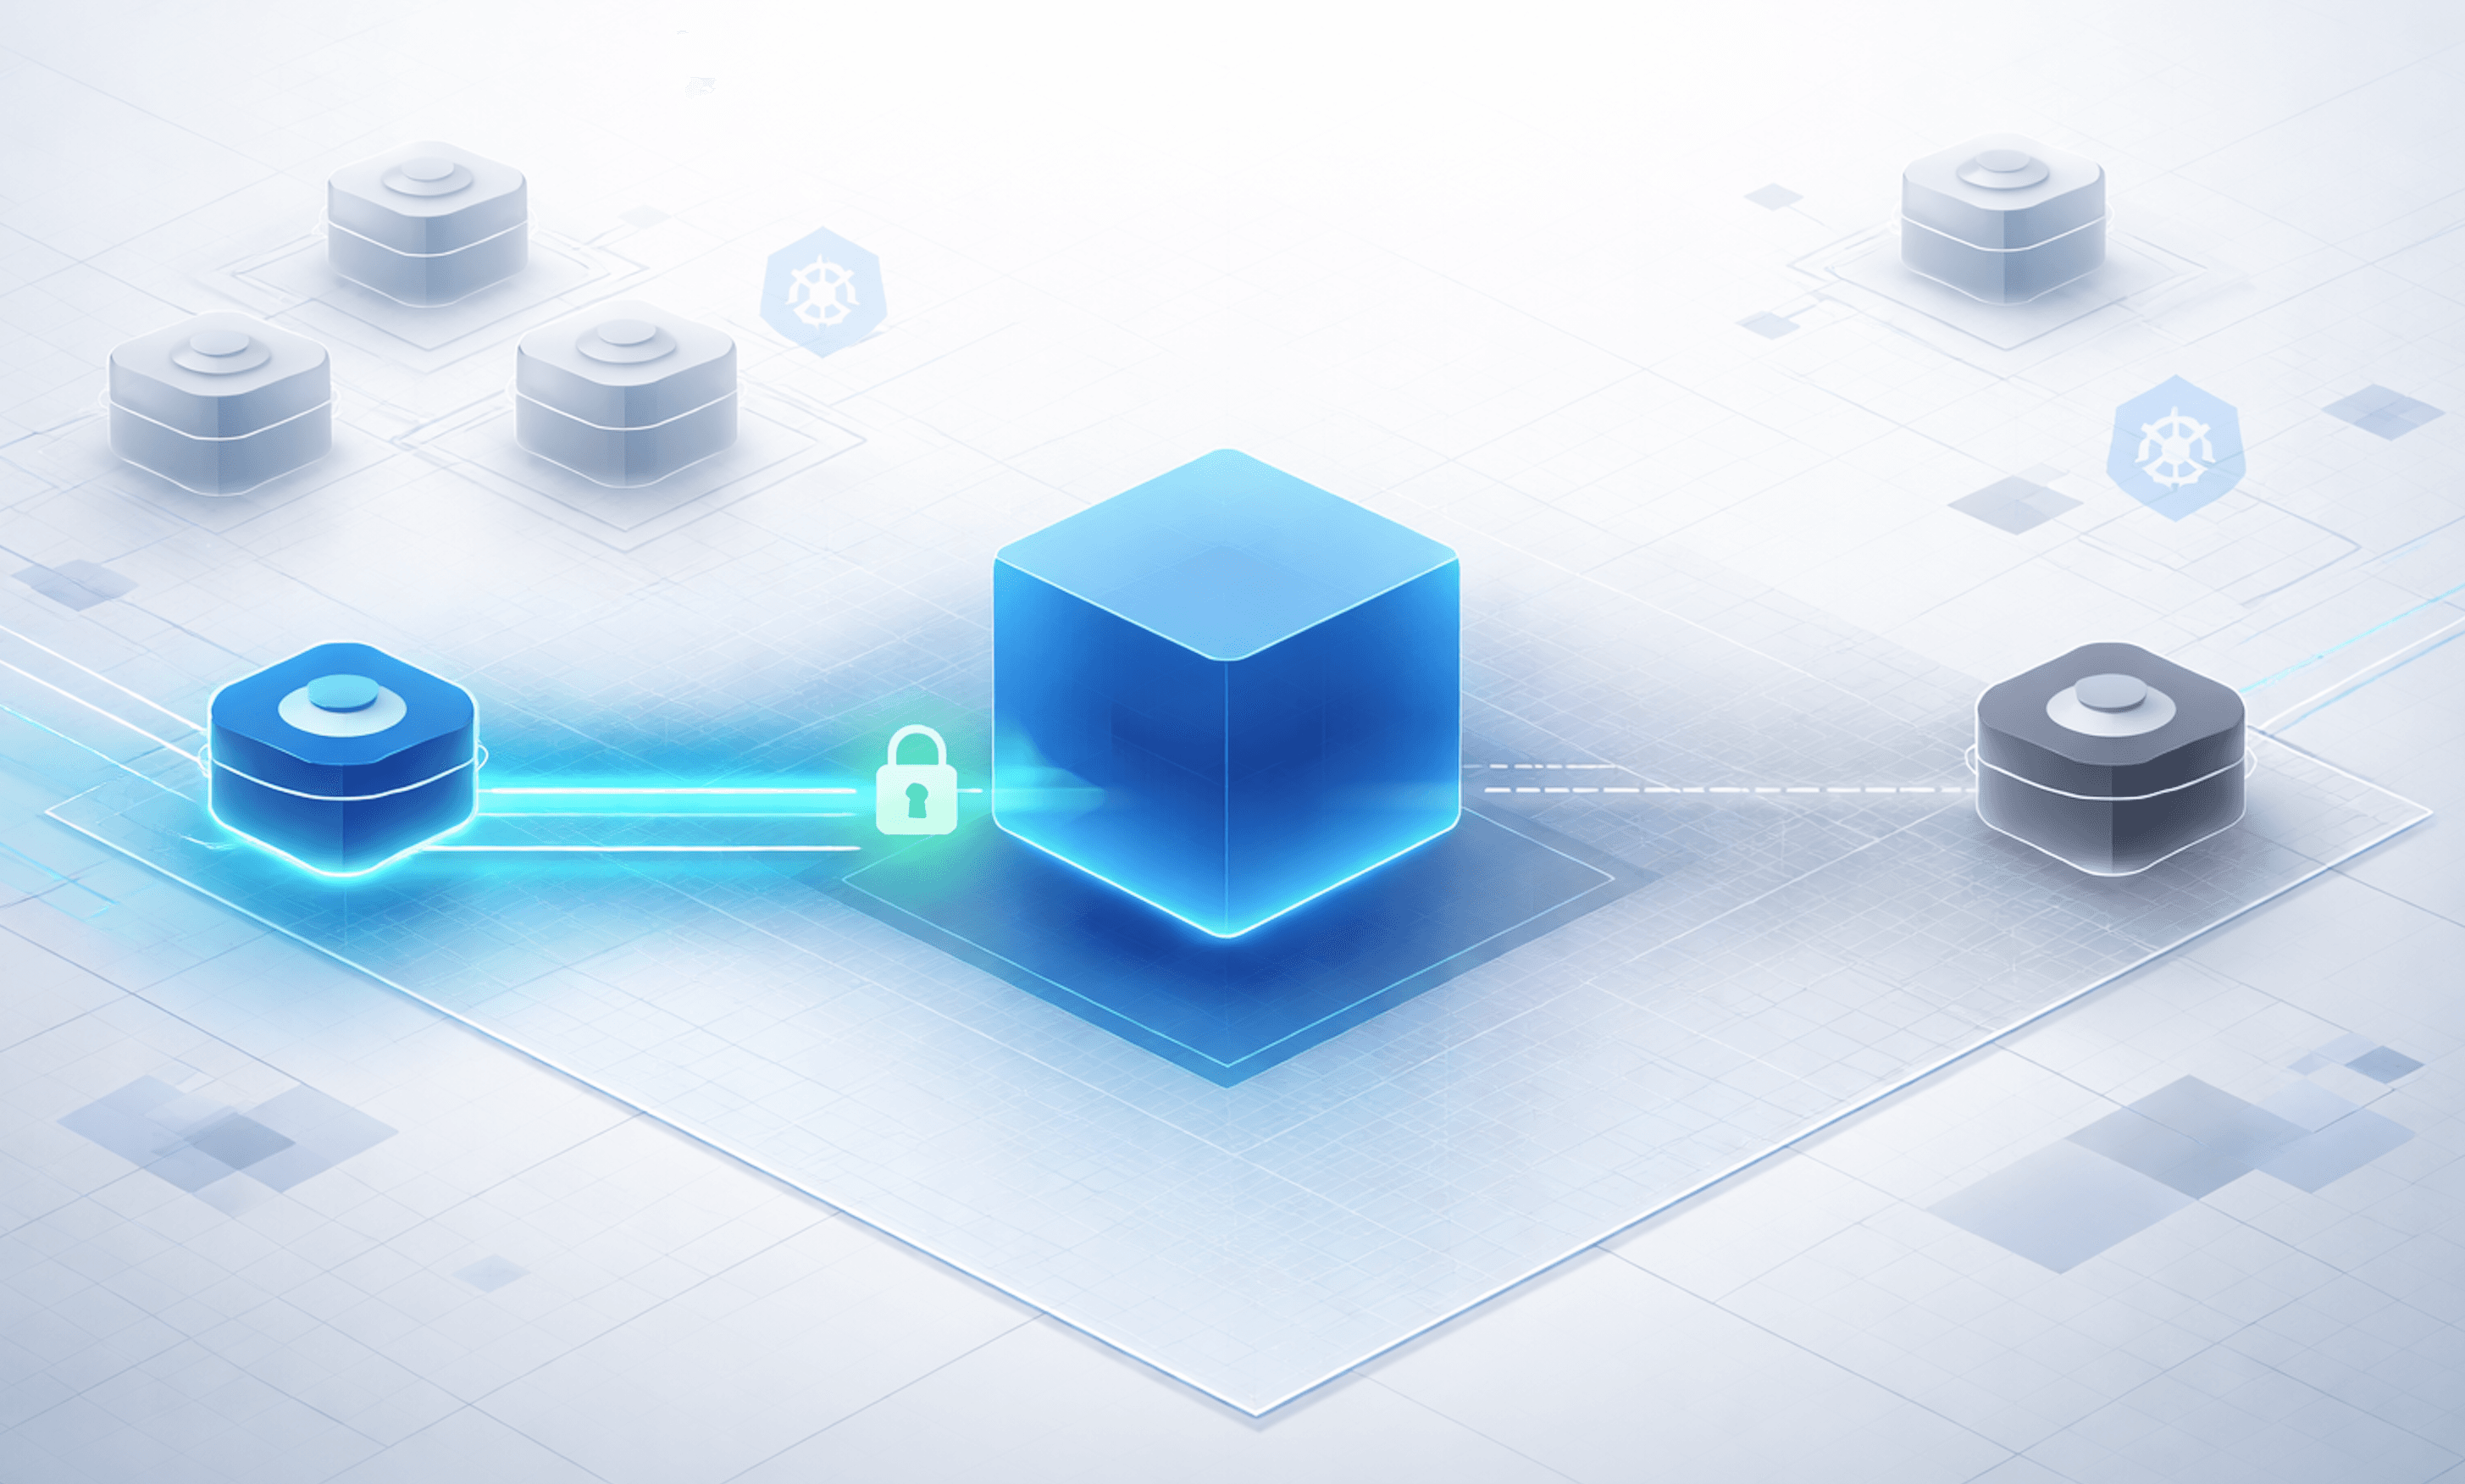
Orientation Diagram: Where Lima Fits
Keep this diagram in mind. Everything in this post is about how quickly Lima gets you to a real Linux environment. It's not about changing how Linux or Kubernetes actually work.

What Lima Is
Lima is a developer-focused way to run Linux virtual machines on macOS. At its core, Lima does one thing well: it makes running Linux easy.
It orchestrates Linux VMs using QEMU on the host and handles the glue that makes those VMs usable for day-to-day work. This includes lifecycle management, networking, filesystem mounts, and access. You describe the VM you want, Lima starts it, and you interact with it directly.
Practically, that means:
A real Linux instance running in a VM
SSH access by default
Port forwarding so services inside the VM are reachable from macOS
Filesystem mounts so the VM feels a bit more local
There’s no GUI. Lima is designed to stay out of your way once the VM is running, just as we like.
At this point, it should be painfully obvious that Lima is a dead-simple way to get a lab running or do local testing without ceremony.
On macOS, Lima uses QEMU as the underlying VM engine. I’m intentionally not going deep on QEMU here, which applies equally to UTM. This will get its own post in the future.
Quick Linux Sanity Check: Run a Simple HTTP Server
Before doing anything more interesting, let’s get it running.
Install Lima
On your Mac it is a simple to install.
matt.brown@matt ~ % brew install lima
✔︎ JSON API cask.jws.json                                                                                                                  Downloaded   15.3MB/ 15.3MB
✔︎ JSON API formula.jws.json                                                                                                               Downloaded   32.0MB/ 32.0MB
==> Fetching downloads for: lima
✔︎ Bottle Manifest lima (2.0.3)                                                                                                            Downloaded   41.6KB/ 41.6KB
✔︎ Bottle lima (2.0.3)                                                                                                                     Downloaded   37.8MB/ 37.8MB
==> Pouring lima--2.0.3.arm64_tahoe.bottle.1.tar.gz
...
==> Summary
🍺  /opt/homebrew/Cellar/lima/2.0.3: 117 files, 77.6MB
Start a VM and Get a Shell
Run a Lima VM.
matt.brown@matt ~ % limactl start
? Creating an instance "default" Proceed with the current configuration
...
INFO[0010] [hostagent] [VZ] - vm state change: running
INFO[0019] [hostagent] Started vsock forwarder: 127.0.0.1:63216 -> vsock:22 on VM
INFO[0019] [hostagent] Detected SSH server is listening on the vsock port; changed 127.0.0.1:63216 to proxy for the vsock port
INFO[0020] SSH Local Port: 63216
...
INFO[0042] [hostagent] Forwarding TCP from 127.0.0.1:36217 to 127.0.0.1:36217
INFO[0053] [hostagent] The final requirement 1 of 1 is satisfied
INFO[0053] READY. Run `lima` to open the shell.
Cool, let's see what we've got.
matt.brown@matt ~ % limactl ls
NAME       STATUS     SSH                VMTYPE    ARCH       CPUS    MEMORY    DISK      DIR
default    Running    127.0.0.1:62655    vz        aarch64    4       4GiB      100GiB    ~/.lima/default
Actually nicely sized for K8s ootb.
Let's get a shell.
matt.brown@matt ~ % lima
lima@lima-default:/Users/matt.brown$ cd
lima@lima-default:~$
At this point, you’re inside the Linux VM. Not a container, just a VM.
Verify What You’re Running
A couple of quick checks should show we're in a Linux instance. They do Ubuntu ootb, totally likes us.
lima@lima-default:~$ uname -a
cat /etc/os-release
Linux lima-default 6.17.0-8-generic #8-Ubuntu SMP PREEMPT_DYNAMIC Fri Nov 14 20:54:15 UTC 2025 aarch64 GNU/Linux
PRETTY_NAME="Ubuntu 25.10"
NAME="Ubuntu"
VERSION_ID="25.10"
VERSION="25.10 (Questing Quokka)"
VERSION_CODENAME=questing
ID=ubuntu
ID_LIKE=debian
HOME_URL="https://www.ubuntu.com/"
SUPPORT_URL="https://help.ubuntu.com/"
BUG_REPORT_URL="https://bugs.launchpad.net/ubuntu/"
PRIVACY_POLICY_URL="https://www.ubuntu.com/legal/terms-and-policies/privacy-policy"
UBUNTU_CODENAME=questing
LOGO=ubuntu-logo
Start a Simple HTTP Server
Ubuntu already has Python installed, so no setup required. Just create a directory with a simple html file.
lima@lima-default:~$ mkdir -p /tmp/web
echo "Hello from Lima" > /tmp/web/index.html
python3 -m http.server 8000 --directory /tmp/web
Serving HTTP on 0.0.0.0 port 8000 (http://0.0.0.0:8000/) ...
That’s a real process listening on a real Linux network interface inside the VM.
Access It from macOS
From your Mac, open a browser and hit:
http://localhost:8000
You should get a directory listing from Hello from Lima.
What Just Happened
The HTTP server is running inside the Linux VM
Lima forwarded the port to the host automatically
You didn’t install Docker or Kubernetes
You can see and control every layer involved
And as an F1 great would say, simply lovely.
A Single Container (Just to Prove the Point)
Before touching Kubernetes, it’s worth showing the smallest possible container example. This is still just Linux, running a container directly inside the VM.
The default Lima VM comes with containerd and nerdctl, so there’s nothing extra to install.
Use lima and nerdctl to fire up a container.
matt.brown@matt ~ % lima nerdctl run -d --name nginx -p 8080:80 nginx:alpine
docker.io/library/nginx:alpine:                                                   resolved       |++++++++++++++++++++++++++++++++++++++|
index-sha256:b0f7830b6bfaa1258f45d94c240ab668ced1b3651c8a222aefe6683447c7bf55:    done           |++++++++++++++++++++++++++++++++++++++|
manifest-sha256:969208a59fcbe5ed11f50a57fa6a0a023aa6311702f5fc252ac502a8a4d25c8a: done           |++++++++++++++++++++++++++++++++++++++|
config-sha256:a6e56e8d6213d3aa3046e4a1cb49d6ed133a1afc9178d8c17cbec445e330537a:   done           |++++++++++++++++++++++++++++++++++++++|
layer-sha256:8a735f2296d46b598dbc65289bfdc2ec4dd07607e69a1887e4ce6ef898be56e1:    done           |++++++++++++++++++++++++++++++++++++++|
layer-sha256:c0de4eea5b769c1703c4428a21cf0cce5b0a1668738391f1443979bb32cc9bc1:    done           |++++++++++++++++++++++++++++++++++++++|
layer-sha256:6628835d87d286d4d03f10b2c7f51d00f4556c49b5874947ce02609379069575:    done           |++++++++++++++++++++++++++++++++++++++|
layer-sha256:ceb87b8ac279a84fc99bdc30e7406cf21bf5d5841819fd0e3c8e0c06d867533c:    done           |++++++++++++++++++++++++++++++++++++++|
layer-sha256:f6b4fb9446345fcad2db26eac181fef6c0a919c8a4fcccd3bea5deb7f6dff67e:    done           |++++++++++++++++++++++++++++++++++++++|
layer-sha256:f4f04eae8d5eb8a0220a0d542da10f9c55b57a585dea1875cfbb1ee99d4c5a4a:    done           |++++++++++++++++++++++++++++++++++++++|
layer-sha256:a0ef6d8231d0e512c7a0c0f7029bcfb8c77f0848b9cb8ec5373b28991c83415b:    done           |++++++++++++++++++++++++++++++++++++++|
layer-sha256:9076aaa4fd77085ce5562e9aca2b51ca88baf3fb8e41f8c777d0df14a1ce1085:    done           |++++++++++++++++++++++++++++++++++++++|
elapsed: 4.2 s                                                                    total:  24.6 M (5.8 MiB/s)
d3d4038f5cb71c934703f165b636b5a66d9fa61892ee79f1fc37097d7a4ea4ff
From your Mac, open a browser and hit:
http://localhost:8080
That’s it.
The container is running inside the Linux VM
The port is forwarded back to macOS
No Docker involved!
At this point, we have Linux and a container runtime with full visibility into what’s actually running.
Kubernetes with Lima
Lima also has a Kubernetes mode. This is real Kubernetes, but it’s optimized for speed and convenience. Not as much use for teaching cluster operations or mimicking production environments.
Start a Kubernetes-enabled Lima instance with default settings.
matt.brown@matt ~ % limactl start --name lima-k8s template://k8s
WARN[0000] Template locator "template://k8s" should be written "template:k8s" since Lima v2.0
? Creating an instance "lima-k8s" Proceed with the current configuration
...
Downloading the image (ubuntu-24.04-server-cloudimg-arm64.img)
592.12 MiB / 592.12 MiB [----------------------------------] 100.00% 19.40 MiB/s
INFO[0036] Downloaded the image from "https://cloud-images.ubuntu.com/releases/noble/release-20251213/ubuntu-24.04-server-cloudimg-arm64.img"
INFO[0039] Attempting to download the nerdctl archive    arch=aarch64 digest="sha256:2c4b97312acd41c4dfe80db6e82592367b3862b5db4c51ce67a6d79bf6ee00ee" location="https://github.com/containerd/nerdctl/releases/download/v2.2.1/nerdctl-full-2.2.1-linux-arm64.tar.gz"
...
INFO[0292] Message from the instance "lima-k8s":
To run `kubectl` on the host (assumes kubectl is installed), run the following commands:
------
export KUBECONFIG="/Users/matt.brown/.lima/lima-k8s/copied-from-guest/kubeconfig.yaml"
kubectl ...
------
So let's just run kubectl from our local machine after exporting.
matt.brown@matt ~ % export KUBECONFIG="/Users/matt.brown/.lima/lima-k8s/copied-from-guest/kubeconfig.yaml"
matt.brown@matt ~ % kubectl get po
No resources found in default namespace.
Cool it is up and running.
Deploy something trivial and expose it.
matt.brown@matt ~ % kubectl create deployment hello --image=nginx
deployment.apps/hello created
matt.brown@matt ~ % kubectl get po
NAME                     READY   STATUS    RESTARTS   AGE
hello-775d79c56b-jrnk5   1/1     Running   0          8s
matt.brown@matt ~ % kubectl expose deployment hello --type=NodePort --port=80
service/hello exposed
Then let's grab the NodePort.
matt.brown@matt ~ % kubectl get svc
NAME         TYPE        CLUSTER-IP      EXTERNAL-IP   PORT(S)        AGE
hello        NodePort    10.97.172.133   <none>        80:31866/TCP   3s
kubernetes   ClusterIP   10.96.0.1       <none>        443/TCP        7m
From your Mac, open a browser and hit:
http://localhost:31866 #or your NodePort
That’s enough to prove the point. You have a working Kubernetes API, a running workload, and a cluster you didn’t have to assemble by hand.
This setup is well-suited for:
API exploration
RBAC experiments
Admission and policy testing
It’s not a replacement for a production-shaped cluster, but we know that.
Wrap Up
In a single tool, we went from a clean Linux VM to a running process, a container, and a Kubernetes deployment. There was nothing complicated and thankfully no MiniKube.
That’s the point of Lima. There’s a lot more you can do here: custom images, multi-VM setups, deeper Kubernetes tuning. I might visit that in the future.
But for learning, testing, and fast iteration, this is where I wanted to land.